Create a Perfect Minnie Mouse Bow Template for Cricut
Introduction
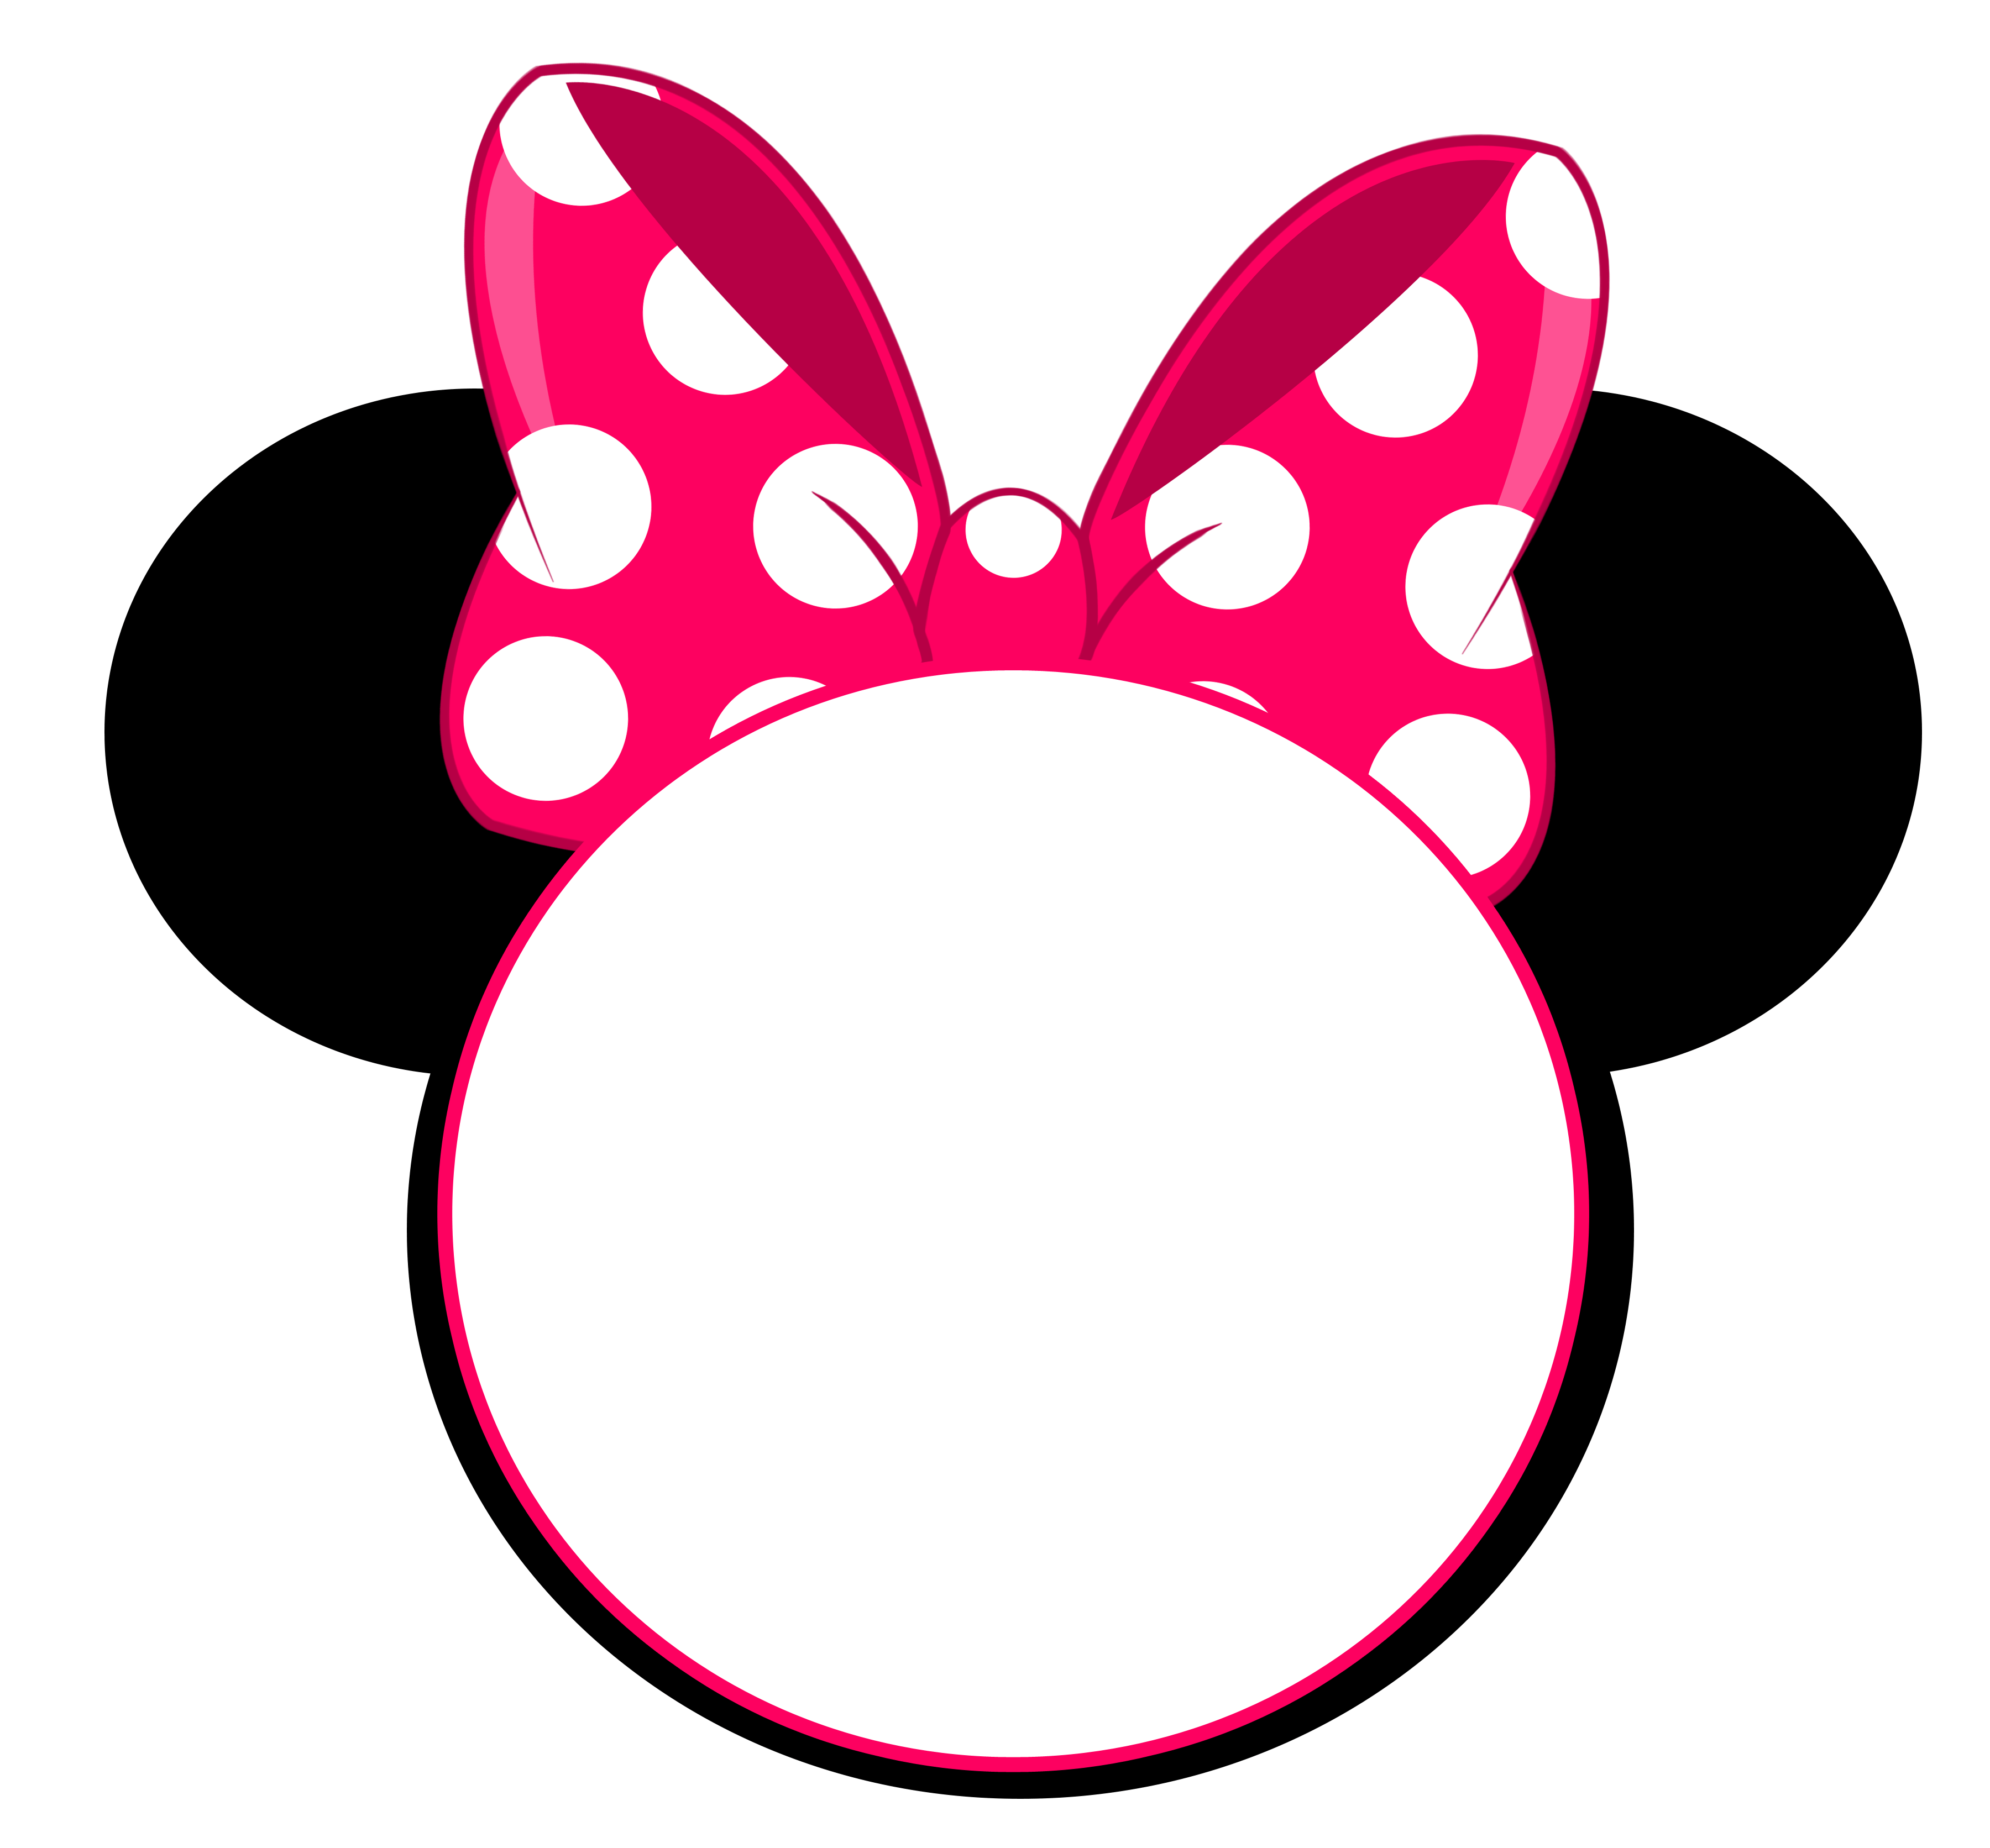
Minnie Mouse, the iconic Disney character, is known for her signature bow. If you’re a Cricut enthusiast, creating your own Minnie Mouse bow template is a fun and rewarding project. This guide will provide you with a comprehensive tutorial on how to design and cut a Minnie Mouse bow template using Cricut Design Space.
Table of Content
- 1 Create a Perfect Minnie Mouse Bow Template for Cricut
- 1.1 Introduction
- 1.2 Step 1: Gather Materials
- 1.3 Step 2: Design the Minnie Mouse Bow Template
- 1.4 Step 1: Gather Materials
- 1.5 Step 3: Cut the Bow Template
- 1.6 Step 4: Assemble the Bow
- 1.7 Step 5: Add Black Polka Dots (Optional)
- 1.8 Conclusion
- 1.9 FAQs
Step 1: Gather Materials
Step 2: Design the Minnie Mouse Bow Template
H2: Open Cricut Design Space
- Aladdin Disney SVG Aladdin Disney SVG: A Journey Into The Enchanting World Of Agrabah
- Elsa Free SVG Elsa Free SVG: Unleashing The Enchanting Queen Of Arendelle In Your Designs
- Maleficent Dragon SVG Maleficent Dragon SVG: Unveil The Enchanting World Of Disney’s Iconic Villain
- Mickey Safari SVG Free Mickey Safari SVG Free: Unleash The Magic Of Disney In Your Designs
- Mickey Boo SVG Mickey Boo SVG: A Comprehensive Guide For Designers
- Cricut cutting machine
- Cricut Design Space software
- Red cardstock or fabric
- Launch Cricut Design Space on your computer or mobile device.
- Create a new project.
- Select the "Shapes" tab in the left panel.
- Search for "Circle" and insert two circles into your design space.
- Adjust the size of the circles to the desired size of your bow.
- Insert a smaller circle into each of the larger circles.
- Adjust the size of the smaller circles to create the ears.
- Select the "Align" tool to center the smaller circles within the larger circles.
- Select the "Shapes" tab and insert a rectangle.
- Adjust the size and shape of the rectangle to create the bow tie.
- Center the bow tie between the two circles.
- Load the red cardstock or fabric onto your Cricut mat.
- Select "Red Cardstock" or "Fabric" as the material type in Cricut Design Space.
- Press the "Make It" button to start cutting the template.
- Apply glue to the edges of the smaller circles (ears).
- Press the ears onto the larger circles (bow base).
- Apply glue to the back of the bow tie.
- Center and press the bow tie onto the bow base.
- Insert a small circle into Cricut Design Space.
- Adjust the size of the circle to the desired size of the polka dots.
- Load black felt or fabric onto your Cricut mat.
- Cut multiple polka dots.
- Apply glue to the back of the polka dots.
- Randomly glue the polka dots onto the bow.
Minnie Mouse, the iconic Disney character, is known for her signature bow. If you’re a Cricut enthusiast, creating your own Minnie Mouse bow template is a fun and rewarding project. This guide will provide you with a comprehensive tutorial on how to design and cut a Minnie Mouse bow template using Cricut Design Space.
Step 1: Gather Materials
H2: Insert Bow Base

H2: Create Bow Ears
H2: Add Bow Tie
Step 3: Cut the Bow Template
H2: Select Materials
H2: Cut
Step 4: Assemble the Bow
H2: Glue Bow Ears
H2: Attach Bow Tie
Step 5: Add Black Polka Dots (Optional)
H2: Create Polka Dot Template
H2: Cut Polka Dots
H2: Glue Polka Dots
Conclusion
Creating a Minnie Mouse bow template using Cricut Design Space is a straightforward and enjoyable project. With a few simple steps, you can design and cut a custom bow that will add a touch of Disney magic to your crafts or outfits. Remember to experiment with different materials and sizes to create unique and eye-catching Minnie Mouse bows.
FAQs
Q: What is the best material to use for the bow?
A: Red cardstock or fabric is recommended for the bow base. Black felt or fabric is suitable for the polka dots.
Q: Can I resize the template?
A: Yes, you can adjust the size of the circles and bow tie in Cricut Design Space to create a bow of any size.
Q: Can I add other embellishments to the bow?
A: Yes, you can add sequins, ribbons, or other embellishments to customize your bow.
Q: How do I attach the bow to a headband or clothing?
A: Glue or sew the bow onto the desired surface.