
Olaf Cricut: A Comprehensive Guide to Creating Magical Winter Masterpieces
Introduction
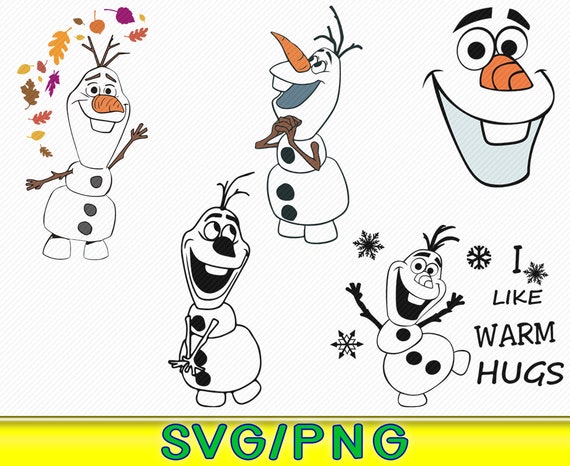
Olaf, the beloved snowman from Disney’s "Frozen," has captured the hearts of audiences worldwide. With his charming personality and adorable appearance, he has become a popular subject for arts and crafts, especially using Cricut cutting machines. This guide will delve into the world of Olaf Cricut, providing detailed instructions, inspiration, and tips for creating your own magical winter masterpieces.

Table of Content
Materials and Equipment
- Cricut cutting machine (Explore Air 2, Maker, or Joy)
- Cricut Design Space software
- Cardstock or vinyl in white, orange, black, and brown
- Craft glue
- Scissors
- Ruler or measuring tape
- Optional: Glitter, markers, or other embellishments

Creating Olaf’s Body
Olaf, the beloved snowman from Disney’s "Frozen," has captured the hearts of audiences worldwide. With his charming personality and adorable appearance, he has become a popular subject for arts and crafts, especially using Cricut cutting machines. This guide will delve into the world of Olaf Cricut, providing detailed instructions, inspiration, and tips for creating your own magical winter masterpieces.
- Donald Duck SVG Free Donald Duck SVG Free: Embark On An Adventure With The Iconic Disney Character
- Birthday Disney disney SVG H1: Celebrate With Disney Magic: Ultimate Guide To Birthday Disney SVGs
- Free Cricut Disney Designs Free Cricut Disney Designs: Unleash Your Creativity With Magical Designs
- Free Elsa disney SVG Free Elsa Disney SVG: Unleash The Ice Queen’s Magic In Your Designs
- Disney Castle With Mickey Ears SVG Disney Castle With Mickey Ears SVG: A Magical Journey Into The World Of Enchantment
Materials and Equipment
Before embarking on your Olaf Cricut journey, it’s essential to gather the necessary materials and equipment:
- Cricut cutting machine (Explore Air 2, Maker, or Joy)
- Cricut Design Space software
- Import the Olaf head design into Cricut Design Space.
- Select white cardstock and cut out the head shape.
- Apply craft glue to the back of the head and attach it to a larger piece of white cardstock as a base.
- Cut out the body shape from white cardstock.
- Fold the body in half lengthwise to create a 3D effect.
- Glue the folded edges of the body to the base.
- Cut out two black circles for the eyes.
- Cut out two smaller white circles for the pupils.
- Glue the pupils onto the black circles and then glue the eyes onto Olaf’s head.
- Cut out an orange triangle for the nose.
- Glue the nose onto Olaf’s face, slightly below the eyes.
- Cut out a black curved line for the mouth.
- Glue the mouth onto Olaf’s face, just below the nose.
- Cut out two small black eyebrows.
- Glue the eyebrows onto Olaf’s forehead, above the eyes.
- Cut out a rectangle of blue fabric or felt for the scarf.
- Tie the scarf around Olaf’s neck and secure it with a knot.
- Cut out small black circles for the buttons.
- Glue the buttons onto Olaf’s body.
- Cut out two brown rectangles for the arms.
- Fold the rectangles in half lengthwise and glue the edges together.
- Glue the arms onto Olaf’s body.
- Experiment with different colors for Olaf’s scarf, buttons, and arms.
- Create a summery Olaf with a floral scarf or a wintery Olaf with a snowflake scarf.
- Add glitter to Olaf’s eyes or nose for a sparkling effect.
- Use markers to draw on additional details, such as snowflakes or Christmas lights.
- Embellish Olaf with sequins, beads, or other decorative elements.
H2: Olaf’s Head

H2: Olaf’s Body
Adding Olaf’s Features
H2: Olaf’s Eyes
H2: Olaf’s Nose
H2: Olaf’s Mouth
H2: Olaf’s Eyebrows
Embellishing Olaf
H2: Olaf’s Scarf
H2: Olaf’s Buttons
H2: Olaf’s Arms
Inspiration and Tips
H2: Color Variations
H2: Embellishments
Conclusion
Creating Olaf Cricut projects is a fun and rewarding activity that brings the magic of "Frozen" into your home. By following these detailed instructions and exploring your creativity, you can create your own unique and adorable Olaf masterpieces. Whether you’re a seasoned Cricut user or just starting out, Olaf Cricut is the perfect way to unleash your wintery crafting spirit.
FAQs
Q: What is the best material to use for Olaf’s body?
A: White cardstock is recommended for a sturdy and durable body.
Q: Can I use regular scissors instead of a Cricut machine?
A: Yes, but it will require more time and precision.
Q: How do I attach Olaf’s arms and legs?
A: Use craft glue to securely attach the arms and legs to Olaf’s body.
Q: Can I make Olaf with different expressions?
A: Yes, you can experiment with different eye shapes and mouth positions to create various expressions.
Q: What are some ideas for decorating Olaf?
A: Add glitter, sequins, beads, markers, or other embellishments to personalize your Olaf creation.